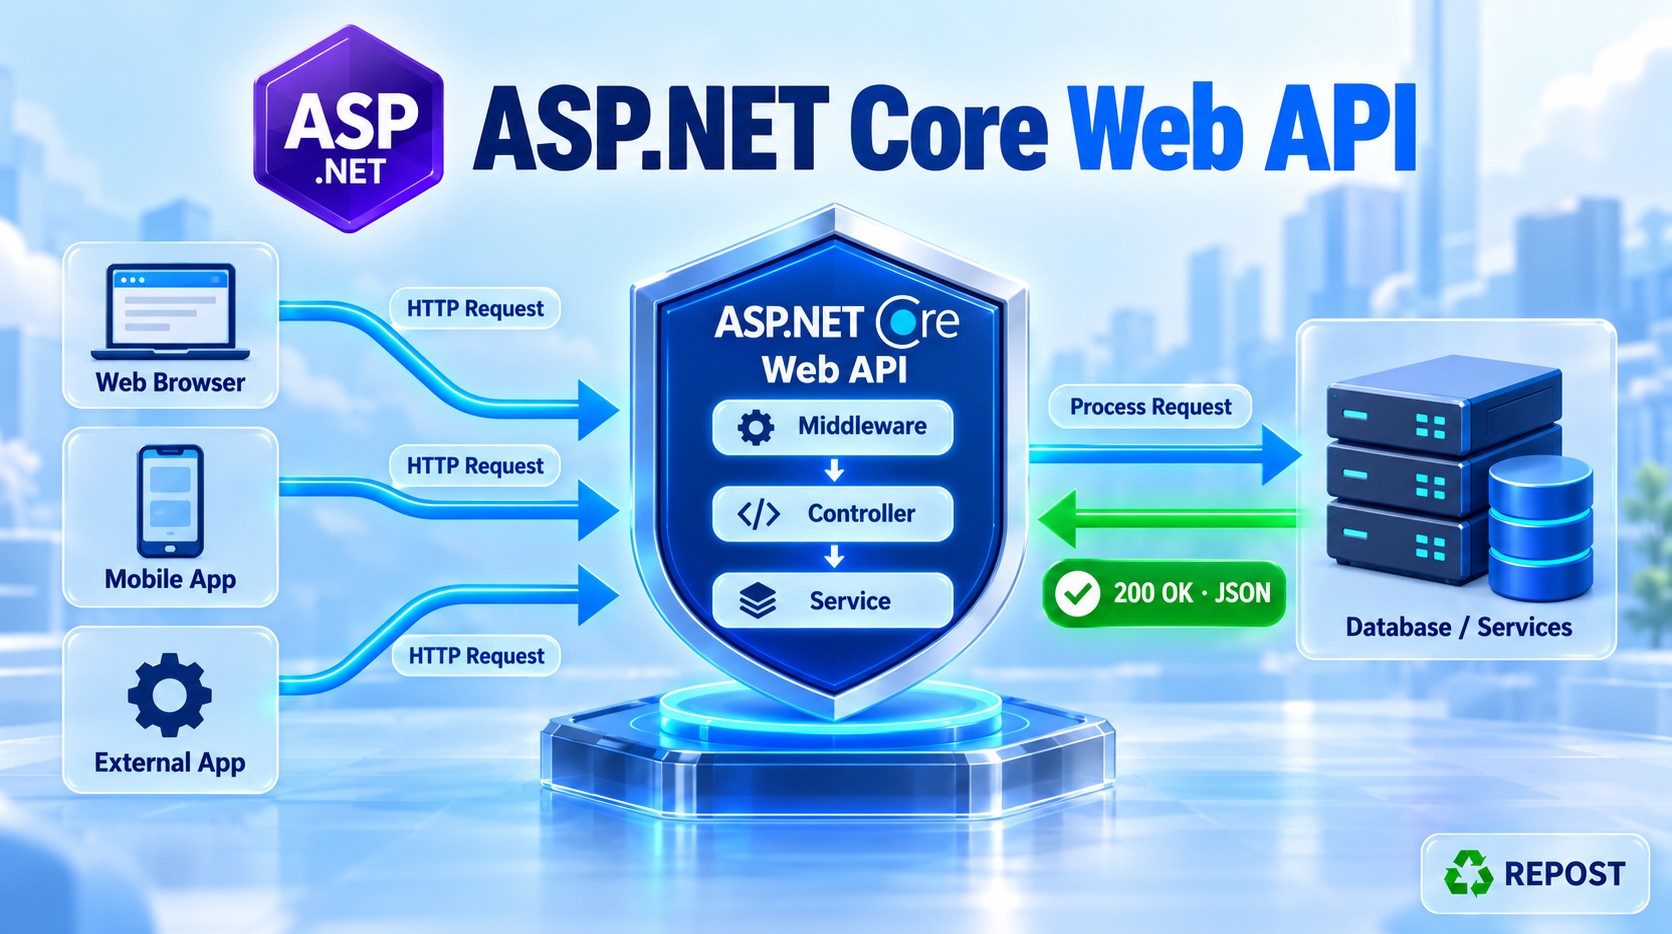


Authorization Filter in ASP.NET Core Web API
What is it?
An authorization filter checks whether a request is allowed to reach a controller action. It runs first among controller filters, before resource filters, model binding, and action filters.
If access is denied, it short-circuits the filter pipeline: the controller action does not run. An authorization filter has a “before” method, such as OnAuthorization, but no matching OnAuthorizationExecuted method. learn.microsoft.com
Authentication versus authorization
- Authentication: Who is making the request? For example, validate a JWT and identify the user.
- Authorization: Is that user allowed to call this endpoint? For example, require the
Adminrole.
ASP.NET Core normally handles these with its authentication and authorization services. The built-in [Authorize] attribute connects a controller or action to that system. Microsoft recommends authorization policies for application access rules instead of building a custom authorization filter. learn.microsoft.com
Where does it run?
HTTP request
    ↓
Authentication middleware identifies the caller
    ↓
Authorization checks
    ↓
Authorization filter (first controller filter)
    ↓
Resource filter → Model binding → Action filter → Controller action
The middleware and controller filter stages are related, but “first filter” does not mean “first code that handles the HTTP request.”
Full example: Only an Admin can access an action
This example uses ASP.NET Core’s built-in authorization filter through [Authorize(Roles = "Admin")]. A small development-only login endpoint creates tokens so you can test both an Admin and a regular user.
The login endpoint below accepts a role supplied by the caller only to demonstrate filter behavior. Never use that login design in a real application. In your portfolio API, use your existing validated JWT login and role claims instead.
1. Create the project and install the JWT package
dotnet new webapi --use-controllers -n AuthorizationFilterDemo
cd AuthorizationFilterDemo

dotnet add package Microsoft.AspNetCore.Authentication.JwtBearer
Use a package version compatible with your project’s target .NET version.
2. appsettings.json
{
  "Jwt": {
    "Issuer": "AuthorizationFilterDemo",
    "Audience": "AuthorizationFilterDemoClient",
    "Key": "DevelopmentOnlySecretKeyWithAtLeast32Characters!"
  },
  "Logging": {
    "LogLevel": {
      "Default": "Information",
      "Microsoft.AspNetCore": "Warning"
    }
  },
  "AllowedHosts": "*"
}
This key is for the local demonstration. Keep real signing keys out of source control.
3. Program.cs
using System.Text;
using Microsoft.AspNetCore.Authentication.JwtBearer;
using Microsoft.IdentityModel.Tokens;

var builder = WebApplication.CreateBuilder(args);

builder.Services.AddControllers();

var jwtSection = builder.Configuration.GetSection("Jwt");

var issuer = jwtSection["Issuer"]
    ?? throw new InvalidOperationException("Jwt:Issuer is missing.");

var audience = jwtSection["Audience"]
    ?? throw new InvalidOperationException("Jwt:Audience is missing.");

var secret = jwtSection["Key"]
    ?? throw new InvalidOperationException("Jwt:Key is missing.");

builder.Services
    .AddAuthentication(JwtBearerDefaults.AuthenticationScheme)
    .AddJwtBearer(options =>
    {
        options.TokenValidationParameters = new TokenValidationParameters
        {
            ValidateIssuer = true,
            ValidIssuer = issuer,

            ValidateAudience = true,
            ValidAudience = audience,

            ValidateLifetime = true,

            ValidateIssuerSigningKey = true,
            IssuerSigningKey = new SymmetricSecurityKey(
                Encoding.UTF8.GetBytes(secret))
        };
    });

builder.Services.AddAuthorization();

var app = builder.Build();

app.UseAuthentication();
app.UseAuthorization();

app.MapControllers();

app.Run();
Why these lines matter:
AddAuthentication().AddJwtBearer(...)configures JWT validation.AddAuthorization()registers authorization services.UseAuthentication()reads and validates the bearer token, then setsHttpContext.User.UseAuthorization()applies endpoint authorization.MapControllers()makes the controller endpoints available.
4. Controllers/DemoLoginController.cs
using System.IdentityModel.Tokens.Jwt;
using System.Security.Claims;
using System.Text;
using Microsoft.AspNetCore.Mvc;
using Microsoft.IdentityModel.Tokens;

namespace AuthorizationFilterDemo.Controllers;

[ApiController]
[Route("api/demo-login")]
public class DemoLoginController : ControllerBase
{
    private readonly IConfiguration _configuration;

    public DemoLoginController(IConfiguration configuration)
    {
        _configuration = configuration;
    }

    [HttpPost("{role}")]
    public IActionResult CreateToken(string role)
    {
        // DEMO ONLY: Never let callers choose their own role in a real login API.
        if (role is not ("Admin" or "User"))
        {
            return BadRequest("Use Admin or User for this demo.");
        }

        var jwt = _configuration.GetSection("Jwt");

        var secret = jwt["Key"]
            ?? throw new InvalidOperationException("Jwt:Key is missing.");

        var claims = new[]
        {
            new Claim(ClaimTypes.Name, "Syed"),
            new Claim(ClaimTypes.Role, role)
        };

        var token = new JwtSecurityToken(
            issuer: jwt["Issuer"],
            audience: jwt["Audience"],
            claims: claims,
            expires: DateTime.UtcNow.AddMinutes(30),
            signingCredentials: new SigningCredentials(
                new SymmetricSecurityKey(
                    Encoding.UTF8.GetBytes(secret)),
                SecurityAlgorithms.HmacSha256));

        return Ok(new
        {
            role,
            accessToken = new JwtSecurityTokenHandler()
                .WriteToken(token)
        });
    }
}
The important line is:
new Claim(ClaimTypes.Role, role)[Authorize(Roles = "Admin")] checks the authenticated user’s role claim. The token’s signature prevents a client from simply editing "User" to "Admin" after the token has been issued.
5. Controllers/ReportsController.cs
using Microsoft.AspNetCore.Authorization;
using Microsoft.AspNetCore.Mvc;

namespace AuthorizationFilterDemo.Controllers;

[ApiController]
[Route("api/reports")]
public class ReportsController : ControllerBase
{
    [HttpGet("public")]
    public IActionResult GetPublicReport()
    {
        return Ok("Anyone can view this report.");
    }

    [Authorize(Roles = "Admin")]
    [HttpGet("admin")]
    public IActionResult GetAdminReport()
    {
        Console.WriteLine("GetAdminReport action executed.");

        return Ok("Confidential report for Admin.");
    }
}
[Authorize(Roles = "Admin")] is the authorization requirement. You can put it on an action as shown, or on the controller class to protect all its actions.
6. Test the three outcomes
Run the API:
dotnet runUse the HTTPS address printed by the application in the following requests.
A. No token
GET /api/reports/adminResult: 401 Unauthorized. The caller has not authenticated. GetAdminReport() does not run.
B. Valid token with the User role
First obtain a token:
POST /api/demo-login/UserThen call:
GET /api/reports/admin
Authorization: Bearer <USER_TOKEN>
Result: 403 Forbidden. The caller is authenticated but does not have the required Admin role. GetAdminReport() does not run.
C. Valid token with the Admin role
First obtain a token:
POST /api/demo-login/AdminThen call:
GET /api/reports/admin
Authorization: Bearer <ADMIN_TOKEN>
Result: 200 OK with:
Confidential report for Admin.This time the console displays:
GetAdminReport action executed.What happens internally?
For the Admin request:
- Authentication validates the JWT signature, issuer, audience, and expiry.
- ASP.NET Core builds
HttpContext.Userfrom the token’s claims. - Authorization evaluates the
Adminrequirement. - The requirement succeeds, so the request reaches
GetAdminReport().
For a User token, step 3 fails and the action is skipped. For a missing token, there is no authenticated user to authorize.
What about a custom OnAuthorization filter?
You can write one by implementing IAuthorizationFilter and setting context.Result to stop the request. For example, your portfolio project’s controller-specific API key check is the kind of check often demonstrated this way:
using Microsoft.AspNetCore.Mvc;
using Microsoft.AspNetCore.Mvc.Filters;

public sealed class DemoApiKeyFilter : IAuthorizationFilter
{
    public void OnAuthorization(AuthorizationFilterContext context)
    {
        var key = context.HttpContext.Request.Headers["X-Api-Key"];

        if (key != "demo-key")
        {
            context.Result = new UnauthorizedObjectResult(
                new { message = "Invalid API key." });
        }
    }
}
Here, assigning context.Result short-circuits the controller filter pipeline. If the key is accepted, leave context.Result unset and processing continues. This snippet explains the method; the complete runnable example above uses the built-in [Authorize] approach. For JWT roles, claims, or application permissions, prefer the framework’s authorization policies. learn.microsoft.com
Key points
- Authorization filters run first among controller filters.
- They decide whether the request may continue to the action.
- They can stop processing before model binding and action execution.
401generally means authentication is needed;403means the authenticated caller lacks permission.OnAuthorizationhas noOnAuthorizationExecutedpartner.- For your existing JWT based portfolio API,
[Authorize], roles, and policies are the normal starting point.