

Decorator Pattern in C#
1. What is Decorator Pattern?
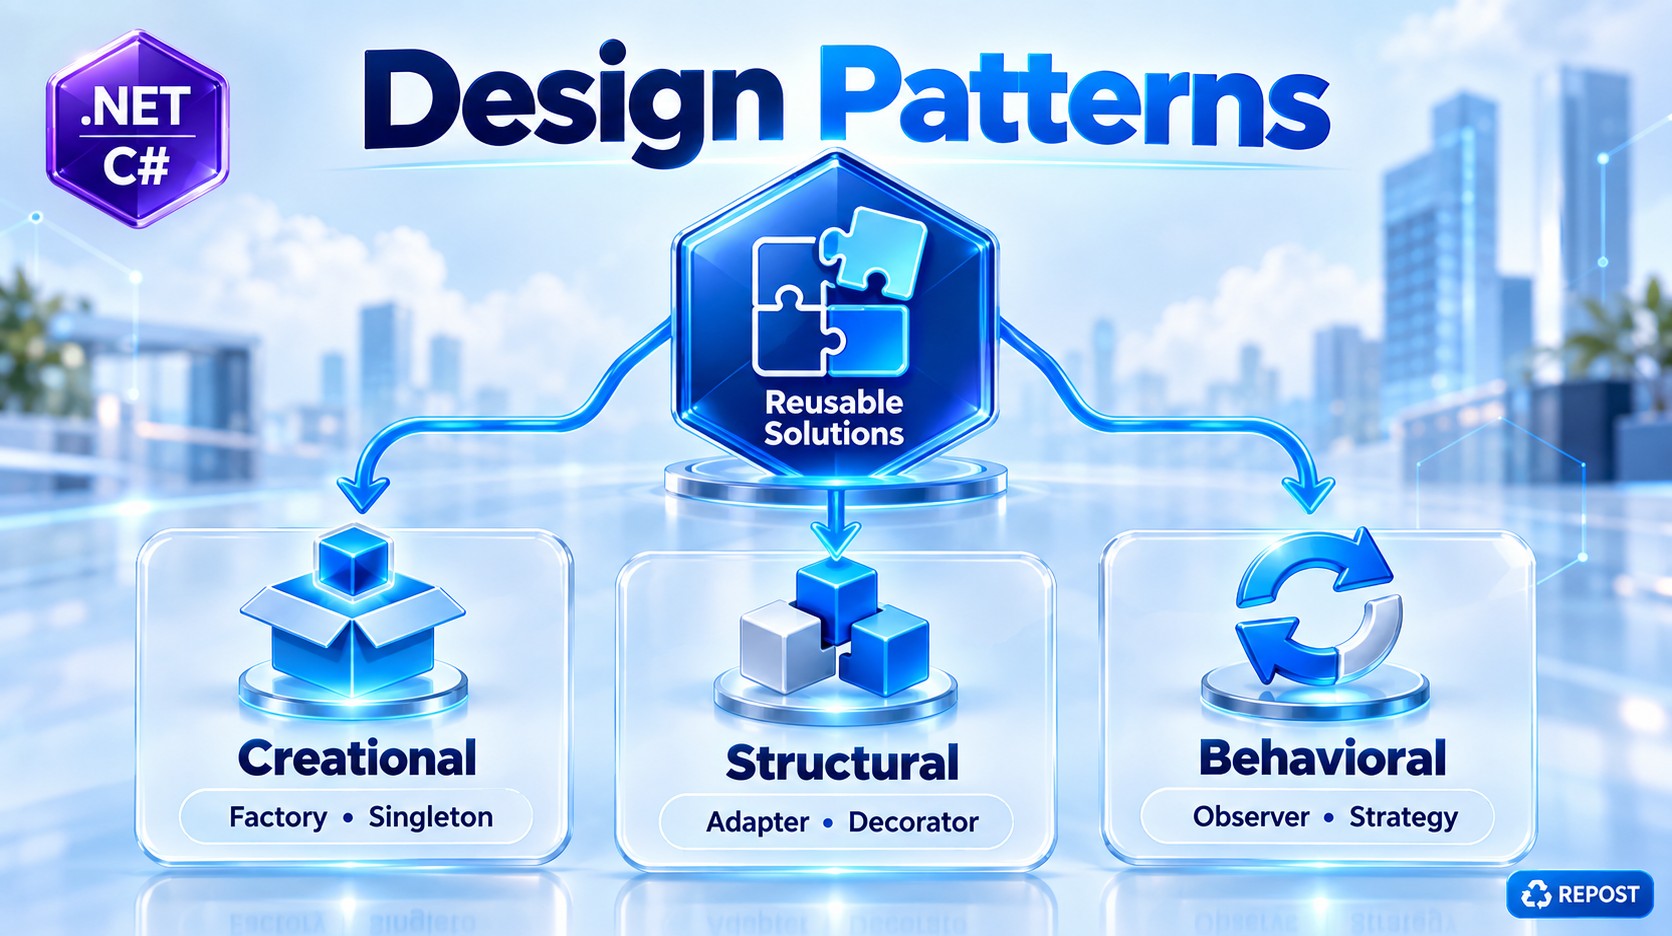
Decorator is a Structural Design Pattern that adds new behavior or functionality to an existing object without modifying its original class.
Simple definition:
Decorator wraps an existing object and adds extra functionality before or after calling the original object.
Think of it like this:
Original Service
      ↓
Send Notification
Suppose you want to add logging:
Logging Decorator
      ↓
Original Service
      ↓
Send Notification
Later, you also want timing:
Timing Decorator
      ↓
Logging Decorator
      ↓
Original Service
      ↓
Send Notification
The important point is that NotificationService itself does not need to change.
2. Why Do We Need Decorator Pattern?
Suppose we have a simple notification service:
public class NotificationService
{
    public void Send(string message)
    {
        Console.WriteLine($"Notification sent: {message}");
    }
}
Initially, this is enough.
Later, requirements arrive:
- Log before sending
- Log after sending
- Measure execution time
- Validate the message
- Retry when sending fails
- Cache results
One approach would be to keep modifying the original class:
public void Send(string message)
{
    Console.WriteLine("Logging started");

    // validation

    // timing

    // actual notification
    Console.WriteLine($"Notification sent: {message}");

    // more logging
}
Eventually, the class becomes responsible for too many things.
NotificationService
       │
       ├── Notification logic
       ├── Logging
       ├── Validation
       ├── Timing
       ├── Retry
       └── Caching
That's undesirable.
Instead, Decorator separates these responsibilities:
NotificationService
       ↑
LoggingDecorator
       ↑
TimingDecorator
Each decorator has one specific responsibility.
3. Simple Scenario
We'll create a notification system.
The original service:
NotificationService
       ↓
Send message
Then we'll add a logging decorator:
LoggingDecorator
       ↓
NotificationService
Both implement the same interface:
            INotificationService
                    ▲
          ┌─────────┴─────────┐
          │                   │
NotificationService    LoggingDecorator
This common interface is the key to the pattern.
4. Step 1 — Create Interface
public interface INotificationService
{
    void Send(string message);
}
This defines the operation available to both:
- Original service
- Decorator
5. Step 2 — Create Original Service
public class NotificationService : INotificationService
{
    public void Send(string message)
    {
        Console.WriteLine($"Notification sent: {message}");
    }
}
This is called the Concrete Component.
Its responsibility is simple:
Send the notification.
It doesn't know anything about logging.
6. Step 3 — Create Logging Decorator
public class LoggingNotificationDecorator : INotificationService
{
    private readonly INotificationService _notificationService;

    public LoggingNotificationDecorator(
        INotificationService notificationService)
    {
        _notificationService = notificationService;
    }

    public void Send(string message)
    {
        Console.WriteLine("Log: Sending notification...");

        _notificationService.Send(message);

        Console.WriteLine("Log: Notification sent successfully.");
    }
}
This is our Decorator.
Notice the most important line:
private readonly INotificationService _notificationService;The decorator itself implements:
INotificationServiceand also contains:
INotificationServiceThat's the central idea.
LoggingNotificationDecorator
          │
          │ contains
          ↓
INotificationService
7. Step 4 — Program.cs
class Program
{
    static void Main()
    {
        INotificationService notification =
            new NotificationService();

        INotificationService loggingNotification =
            new LoggingNotificationDecorator(notification);

        loggingNotification.Send(
            "Your order has been confirmed.");
    }
}
8. Full Simple Program
using System;


// Component Interface
public interface INotificationService
{
    void Send(string message);
}


// Concrete Component
public class NotificationService : INotificationService
{
    public void Send(string message)
    {
        Console.WriteLine($"Notification sent: {message}");
    }
}


// Decorator
public class LoggingNotificationDecorator : INotificationService
{
    private readonly INotificationService _notificationService;

    public LoggingNotificationDecorator(
        INotificationService notificationService)
    {
        _notificationService = notificationService;
    }

    public void Send(string message)
    {
        Console.WriteLine("Log: Sending notification...");

        _notificationService.Send(message);

        Console.WriteLine("Log: Notification sent successfully.");
    }
}


// Program
public class Program
{
    public static void Main()
    {
        // Original service
        INotificationService notification =
            new NotificationService();

        // Wrap original service with decorator
        INotificationService loggingNotification =
            new LoggingNotificationDecorator(notification);

        // Call decorator
        loggingNotification.Send(
            "Your order has been confirmed.");
    }
}
9. Output
Log: Sending notification...

Notification sent: Your order has been confirmed.

Log: Notification sent successfully.
Notice the execution order:
Logging Decorator
       │
       ├── Log before
       │
       ↓
NotificationService
       │
       ├── Send notification
       │
       ↓
Logging Decorator
       │
       └── Log after
10. Detailed Explanation
Let's understand these lines carefully.
Original Object
INotificationService notification =
    new NotificationService();
The variable is:
INotificationServiceActual object:
NotificationServiceAt this point:
notification
     ↓
NotificationService
Calling:
notification.Send("Hello");would directly execute:
NotificationService.Send()11. Wrap the Original Object
Next:
INotificationService loggingNotification =
    new LoggingNotificationDecorator(notification);
We pass the original object:
notificationto the decorator.
Internally:
public LoggingNotificationDecorator(
    INotificationService notificationService)
{
    _notificationService = notificationService;
}
So now:
loggingNotification
        ↓
LoggingNotificationDecorator
        │
        │ _notificationService
        ↓
NotificationService
The original service has been wrapped.
That's why you'll frequently hear:
A decorator wraps another object.
12. Calling Send()
Now:
loggingNotification.Send(
    "Your order has been confirmed.");
Because loggingNotification points to:
LoggingNotificationDecoratorthe decorator executes first.
public void Send(string message)
{
    Console.WriteLine("Log: Sending notification...");

    _notificationService.Send(message);

    Console.WriteLine("Log: Notification sent successfully.");
}
Execution:
Step 1
Console.WriteLine("Log: Sending notification...");Output:
Log: Sending notification...Step 2
_notificationService.Send(message);Remember _notificationService contains:
NotificationServiceSo now:
NotificationService.Send(message);runs.
Output:
Notification sent: Your order has been confirmed.Step 3
Control returns to the decorator:
Console.WriteLine("Log: Notification sent successfully.");Output:
Log: Notification sent successfully.13. Complete Execution Flow
Client
  │
  │ Send()
  ↓
LoggingNotificationDecorator
  │
  ├── Log Before
  │
  ↓
NotificationService
  │
  ├── Send Notification
  │
  ↓
LoggingNotificationDecorator
  │
  └── Log After
  ↓
Client
This before → original operation → after structure is extremely common with decorators.
14. Adding Another Decorator
The real power becomes clear when we have multiple decorators.
Let's add execution-time measurement.
using System.Diagnostics;

public class TimingNotificationDecorator : INotificationService
{
    private readonly INotificationService _notificationService;

    public TimingNotificationDecorator(
        INotificationService notificationService)
    {
        _notificationService = notificationService;
    }

    public void Send(string message)
    {
        var stopwatch = Stopwatch.StartNew();

        _notificationService.Send(message);

        stopwatch.Stop();

        Console.WriteLine(
            $"Execution Time: {stopwatch.ElapsedMilliseconds} ms");
    }
}
Again, it:
- Implements
INotificationService - Contains another
INotificationService
public class TimingNotificationDecorator
    : INotificationService
and:
private readonly INotificationService _notificationService;15. Stack Multiple Decorators
Now we can do:
INotificationService notification =
    new NotificationService();

notification =
    new LoggingNotificationDecorator(notification);

notification =
    new TimingNotificationDecorator(notification);

notification.Send(
    "Your order has been confirmed.");
Now the object structure is:
TimingDecorator
      ↓
LoggingDecorator
      ↓
NotificationService
16. Execution Order with Multiple Decorators
Calling:
notification.Send("Order confirmed");starts with:
TimingDecoratorIt starts the timer and calls:
LoggingDecoratorLogging writes:
Log: Sending notification...Then it calls:
NotificationServicewhich sends:
Notification sent: Order confirmed.Then execution returns to:
LoggingDecoratorwhich writes:
Log: Notification sent successfully.Then execution returns to:
TimingDecoratorwhich writes the elapsed time.
So:
Timing Decorator
      │
      │ Start timer
      ↓
Logging Decorator
      │
      │ Log before
      ↓
NotificationService
      │
      │ Send()
      ↓
Logging Decorator
      │
      │ Log after
      ↓
Timing Decorator
      │
      │ Stop timer
      ↓
Result
17. Why Must Decorator Implement the Same Interface?
This is important.
Original service:
public class NotificationService : INotificationServiceDecorator:
public class LoggingNotificationDecorator : INotificationServiceTiming decorator:
public class TimingNotificationDecorator : INotificationServiceAll of them can therefore be treated as:
INotificationServiceThis allows:
INotificationService service =
    new NotificationService();

service =
    new LoggingNotificationDecorator(service);

service =
    new TimingNotificationDecorator(service);
Each decorator can wrap another object that implements the same contract.
That creates the chain.
18. Main Components of Decorator Pattern
The classic Decorator pattern contains these components:
| Component | Our Example |
|---|---|
| Component | INotificationService |
| Concrete Component | NotificationService |
| Decorator | LoggingNotificationDecorator |
| Additional Decorator | TimingNotificationDecorator |
| Client | Program |
Component
INotificationServiceDefines the common contract.
Concrete Component
NotificationServiceContains the original/core behavior.
Decorator
LoggingNotificationDecoratorWraps another INotificationService and adds logging.
Another Decorator
TimingNotificationDecoratorAdds timing without changing the original service.
19. Without Decorator vs With Decorator
Without Decorator
Everything could end up inside one class:
NotificationService
       │
       ├── Validation
       ├── Logging
       ├── Timing
       ├── Retry
       ├── Notification
       └── Auditing
The class keeps growing.
With Decorator
Responsibilities are separated:
ValidationDecorator
       ↓
LoggingDecorator
       ↓
TimingDecorator
       ↓
NotificationService
Each class has a focused responsibility.
20. Decorator Is Composition
Decorator primarily uses composition.
For example:
private readonly INotificationService _notificationService;The decorator has an INotificationService.
This is different from creating subclasses such as:
NotificationService
        ↑
LoggedNotificationService
        ↑
TimedLoggedNotificationService
        ↑
ValidatedTimedLoggedNotificationService
That inheritance structure can quickly become difficult to maintain.
Decorator favors:
Composition over inheritance.
21. Advantages
1. Doesn't Modify Original Class
Original:
public class NotificationServicedoesn't need to know anything about:
- Logging
- Timing
- Validation
- Caching
2. Adds Behavior Dynamically
You can use:
NotificationServiceor:
Logging
    ↓
NotificationService
or:
Timing
    ↓
Logging
    ↓
NotificationService
depending on what behavior you need.
3. Follows Open/Closed Principle
Existing classes can remain unchanged while new behavior is introduced through new decorators.
For example:
RetryNotificationDecoratorcan be added without modifying:
NotificationService4. Supports Single Responsibility Principle
Instead of:
NotificationService
 ├── Send
 ├── Log
 ├── Validate
 └── Measure
we have:
NotificationService
    → Send

LoggingDecorator
    → Logging

ValidationDecorator
    → Validation

TimingDecorator
    → Timing
5. Decorators Can Be Combined
You can stack decorators:
Validation
    ↓
Logging
    ↓
Timing
    ↓
Notification
6. Reduces Need for Many Subclasses
Without Decorator, you might eventually create combinations such as:
LoggedNotificationService
TimedNotificationService
LoggedTimedNotificationService
ValidatedNotificationService
ValidatedLoggedNotificationService
Decorator lets you compose those behaviors instead.
22. Disadvantages
Decorator also has trade-offs.
If you add too many decorators:
Validation
    ↓
Authorization
    ↓
Logging
    ↓
Retry
    ↓
Caching
    ↓
Timing
    ↓
NotificationService
it can become difficult to understand the execution order.
It also introduces more classes.
So Decorator should be used when the additional behavior is genuinely modular and composable.
23. Real-World Examples
Decorator is particularly useful for cross-cutting behaviors such as:
Logging
Caching
Validation
Metrics
Auditing
Retry
Authorization
Performance measurement
For example:
CachingDecorator
       ↓
ProductService
When calling:
GetProduct(100);the decorator might:
Check cache
    ↓
Found?
 ┌──┴──┐
Yes    No
 ↓      ↓
Return  ProductService
Cache       ↓
         Database
The original ProductService doesn't need to contain the caching logic.
24. Decorator Pattern vs Inheritance
Inheritance
NotificationService
        ↑
LoggedNotificationService
Behavior is added through subclassing.
Decorator
LoggingDecorator
       ↓
NotificationService
Behavior is added by wrapping an object.
Decorator is generally more flexible because decorators can be combined at runtime/configuration time.
25. Very Important Point
This line is the heart of Decorator:
private readonly INotificationService _notificationService;and this line:
_notificationService.Send(message);The decorator receives another object implementing the same abstraction, adds its own behavior, and delegates the core operation to the wrapped object.
Think:
Decorator
   ↓
Do something before

   ↓
WrappedObject.Method()

   ↓
Do something after
26. How This Relates to ASP.NET Core Web API
In an ASP.NET Core Web API, instead of manually writing:
new LoggingNotificationDecorator(
    new NotificationService());
you can configure the decorator through Dependency Injection.
Conceptually:
Controller
    ↓
INotificationService
    ↓
LoggingNotificationDecorator
    ↓
NotificationService
Then the controller only needs:
public NotificationController(
    INotificationService notificationService)
{
    _notificationService = notificationService;
}
The controller doesn't need to know whether the service has:
Logging
Caching
Timing
Retry
around it.
This is one reason the Decorator pattern is very relevant to ASP.NET Core + DI applications.
Key Points
- Decorator is a Structural Design Pattern.
- It adds new behavior to an existing object without modifying the original class.
- A decorator wraps another object.
- The decorator and wrapped object normally implement the same interface.
- The decorator delegates the core operation to the wrapped object.
- It can execute additional logic before and/or after the wrapped operation.
- Multiple decorators can be stacked.
- Decorator primarily uses composition rather than inheritance.
- It supports the Open/Closed Principle.
- It helps support the Single Responsibility Principle.
- Common uses include logging, caching, validation, timing, auditing, metrics, retry, and authorization.
- The order of decorators matters because one decorator wraps another.
- Too many decorators can make the execution chain harder to follow.
- Decorator works very naturally with Dependency Injection in ASP.NET Core.
One-line interview answer
Decorator is a structural design pattern that dynamically adds additional behavior to an object by wrapping it with another object that implements the same interface, without modifying the original class.
For ASP.NET Core Web API, the natural next version of this example is Controller → Logging Decorator → NotificationService using constructor DI, where ASP.NET Core creates the complete decorator chain automatically.