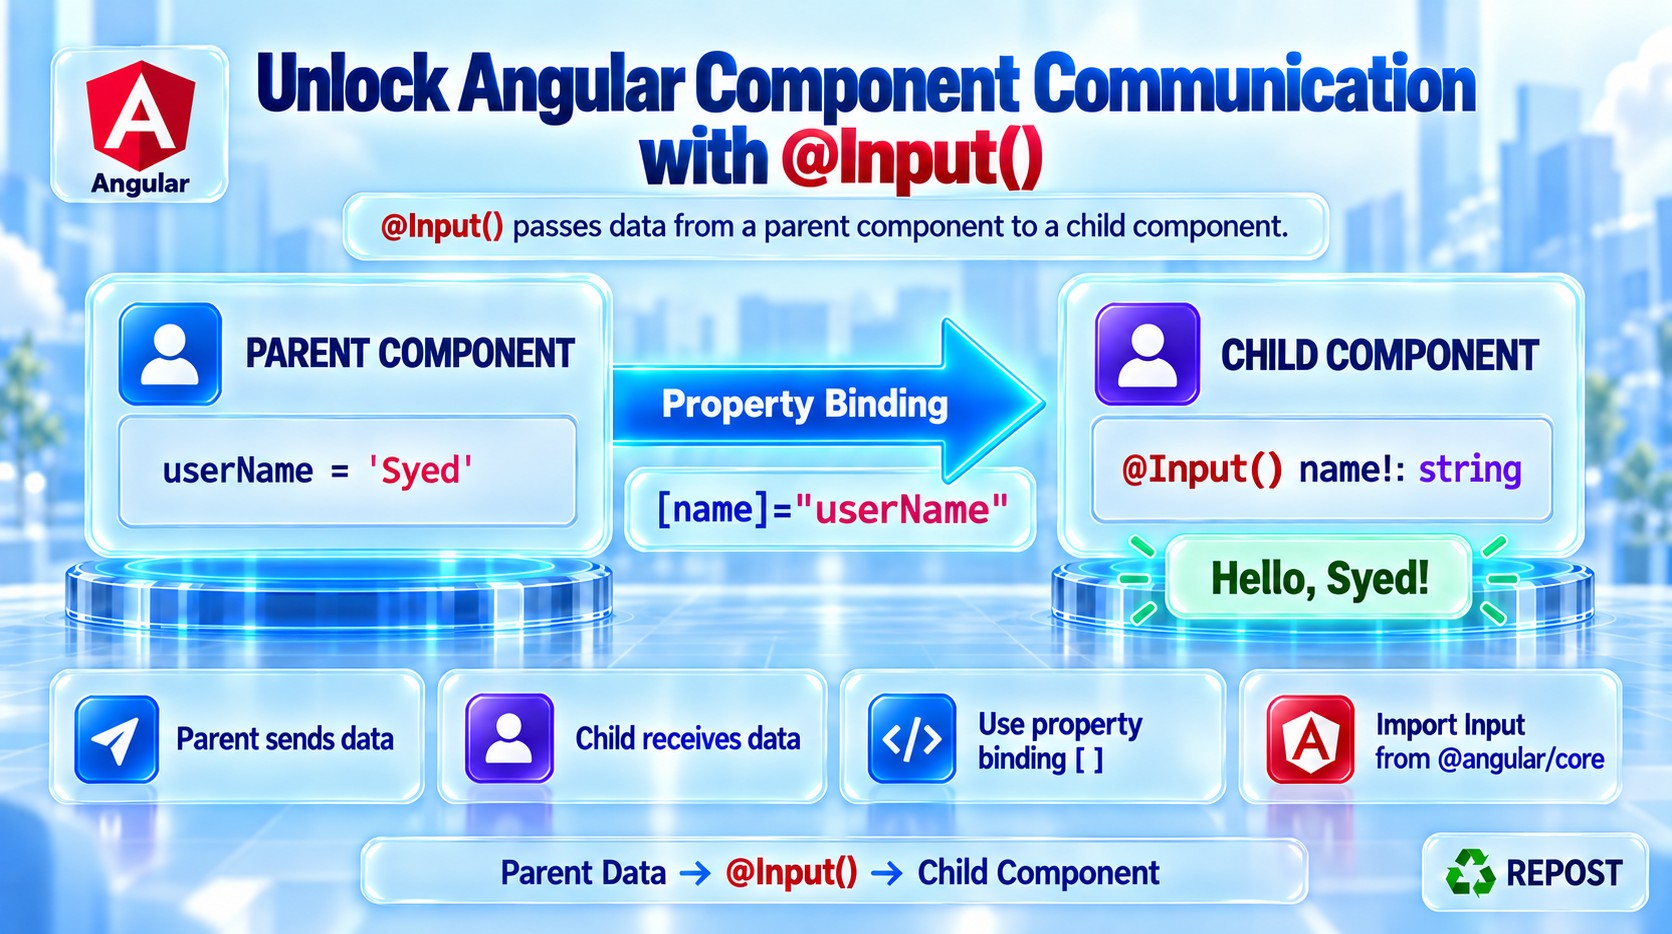


Unlock Angular Component Communication with @Input()
What is a Property Decorator in Angular?
A property decorator is applied to a property of an Angular component, directive, or service class. It provides additional metadata to Angular and tells Angular to treat that property in a special way.
A property decorator begins with @ and is placed immediately above the property.
@DecoratorName()
propertyName: datatype;
Example:
@Input()
productName = '';
Here:
-
productNameis a normal TypeScript class property. -
@Input()is the property decorator. -
The decorator tells Angular that the property can receive a value from a parent component.
Common Angular property decorators
| Decorator | Purpose |
|---|---|
@Input() |
Receives data from a parent component |
@Output() |
Sends events/data to a parent component |
@ViewChild() |
Accesses one child element/component from the component view |
@ViewChildren() |
Accesses multiple child elements/components |
@ContentChild() |
Accesses projected content |
@ContentChildren() |
Accesses multiple projected-content elements |
What is @Input()?
@Input() is an Angular property decorator that allows a child component or directive to receive data from its parent component.
The data direction is:
Parent Component → Child Component@Input() makes a child property available for property binding in the parent template.
Angular officially describes @Input() as a decorator that marks a class field as an input property. Angular automatically updates that field during change detection. (Angular)
Basic syntax
import { Input } from '@angular/core';

@Input() propertyName: datatype;
Example:
@Input() userName = '';The parent can now pass a value to it:
<app-user [userName]="name"></app-user>Complete parent-to-child example
Suppose the parent has product information and needs to display it using a reusable child component.
1. Create a model
product.model.ts
export interface Product {
  id: number;
  name: string;
  price: number;
  inStock: boolean;
}
2. Child component
product-card.ts
import { Component, Input } from '@angular/core';
import { CurrencyPipe } from '@angular/common';
import { Product } from './product.model';

@Component({
  selector: 'app-product-card',
  standalone: true,
  imports: [CurrencyPipe],
  templateUrl: './product-card.html',
  styleUrl: './product-card.css'
})
export class ProductCard {

  @Input({ required: true })
  product!: Product;

  @Input()
  buttonText = 'View Product';
}
Explanation
@Input({ required: true })
product!: Product;-
@Input()exposes the property to the parent. -
required: truemeans the parent must provide it. -
productis the child component property. -
Productprovides type safety. -
!is TypeScript’s definite-assignment assertion. -
It tells TypeScript that Angular will assign the value.
The second input has a default value:
@Input()
buttonText = 'View Product';
If the parent does not pass buttonText, the child uses "View Product".
3. Child template
product-card.html
<div class="product-card">
  <h2>{{ product.name }}</h2>

  <p>Product ID: {{ product.id }}</p>

  <p>Price: {{ product.price | currency:'INR' }}</p>

  @if (product.inStock) {
    <p class="available">Available</p>
  } @else {
    <p class="unavailable">Out of stock</p>
  }

  <button>{{ buttonText }}</button>
</div>
The child directly reads the properties received from the parent:
{{ product.name }}
{{ product.price }}
4. Parent component
app.ts
import { Component } from '@angular/core';
import { ProductCard } from './product-card';
import { Product } from './product.model';

@Component({
  selector: 'app-root',
  standalone: true,
  imports: [ProductCard],
  templateUrl: './app.html'
})
export class App {

  selectedProduct: Product = {
    id: 101,
    name: 'Wireless Keyboard',
    price: 2499,
    inStock: true
  };

  actionText = 'Buy Now';

  changeProduct(): void {
    this.selectedProduct = {
      id: 102,
      name: 'Wireless Mouse',
      price: 1299,
      inStock: false
    };
  }
}
Because this is a standalone Angular component, the child component must be added to the parent's imports:
imports: [ProductCard]5. Parent template
app.html
<h1>Product Store</h1>

<app-product-card
  [product]="selectedProduct"
  [buttonText]="actionText">
</app-product-card>

<button (click)="changeProduct()">
  Change Product
</button>
Understanding the binding
[product]="selectedProduct"| Part | Meaning |
|---|---|
[product] |
Input property in the child |
selectedProduct |
Property in the parent |
= |
Passes the parent value to the child |
Angular effectively performs:
child.product = parent.selectedProduct;When selectedProduct changes, Angular updates the child input during change detection.
Static value versus property binding
These two examples are different.
Static string
<app-product-card buttonText="Buy Now"></app-product-card>Angular passes the literal string:
Buy NowProperty binding
<app-product-card [buttonText]="actionText"></app-product-card>Angular evaluates the parent property:
actionText = 'Buy Now';Important number example
Without brackets:
<app-counter count="10"></app-counter>"10" is normally passed as a string.
With brackets:
<app-counter [count]="10"></app-counter>10 is passed as a number.
@Input() count = 0;Optional and required inputs
Optional input with a default value
@Input()
title = 'Default Title';
Usage is optional:
<app-card></app-card>If the parent does not pass a title, "Default Title" is used.
Required input
@Input({ required: true })
title!: string;
The parent must pass the property:
<app-card [title]="pageTitle"></app-card>If a required input is missing, Angular reports a build-time/template compilation error. (Angular)
Receiving different data types
@Input() can receive primitive values, arrays, objects, and functions.
String
@Input() title = '';<app-card title="Angular Tutorial"></app-card>Number
@Input() count = 0;<app-card [count]="25"></app-card>Boolean
@Input() isActive = false;<app-card [isActive]="true"></app-card>Array
@Input() skills: string[] = [];technicalSkills = ['C#', 'ASP.NET Core', 'Angular'];<app-skills [skills]="technicalSkills"></app-skills>Object
@Input({ required: true })
product!: Product;
<app-product-card [product]="selectedProduct"></app-product-card>Input alias
An alias allows the parent template to use a different input name from the child’s TypeScript property.
Child
@Input({ alias: 'productTitle' })
title = '';
Parent template
<app-product-card
  productTitle="Angular Course">
</app-product-card>
Inside the child class, the property is still accessed as:
this.titleIt is not accessed as:
this.productTitleThe shorter legacy syntax is also supported:
@Input('productTitle')
title = '';
Aliases can help avoid native DOM-property name collisions or preserve compatibility while renaming an input, but unnecessary aliases may make the code confusing. (Angular)
Input transformations
A transform converts an incoming value before Angular assigns it to the child property.
Angular provides built-in transformations for boolean and number values.
Boolean transformation
import {
  Component,
  Input,
  booleanAttribute
} from '@angular/core';

@Component({
  selector: 'app-button',
  standalone: true,
  template: `
    <button [disabled]="disabled">
      Save
    </button>
  `
})
export class Button {

  @Input({ transform: booleanAttribute })
  disabled = false;
}
Parent:
<app-button disabled></app-button>The presence of disabled is converted to:
trueThe literal value "false" is converted to false.
Number transformation
import {
  Component,
  Input,
  numberAttribute
} from '@angular/core';

@Component({
  selector: 'app-counter',
  standalone: true,
  template: `<p>Count: {{ count }}</p>`
})
export class Counter {

  @Input({ transform: numberAttribute })
  count = 0;
}
Parent:
<app-counter count="25"></app-counter>Although "25" comes from an HTML attribute, numberAttribute converts it to the number 25.
Custom transformation
function trimText(value: string | undefined): string {
  return value?.trim() ?? '';
}

export class UserCard {

  @Input({ transform: trimText })
  userName = '';
}
Parent:
<app-user-card
  userName="   Syed Mohamed   ">
</app-user-card>
Child receives:
Syed MohamedAngular recommends transformations when an input needs value normalization. (Angular)
Detecting input changes using ngOnChanges
When the parent changes an input value, the child can respond using the ngOnChanges lifecycle hook.
Child component
import {
  Component,
  Input,
  OnChanges,
  SimpleChanges
} from '@angular/core';

@Component({
  selector: 'app-user',
  standalone: true,
  template: `<h2>{{ userName }}</h2>`
})
export class User implements OnChanges {

  @Input()
  userName = '';

  ngOnChanges(changes: SimpleChanges): void {
    const userNameChange = changes['userName'];

    if (userNameChange) {
      console.log(
        'Previous value:',
        userNameChange.previousValue
      );

      console.log(
        'Current value:',
        userNameChange.currentValue
      );

      console.log(
        'First change:',
        userNameChange.firstChange
      );
    }
  }
}
SimpleChange provides:
| Property | Meaning |
|---|---|
previousValue |
Previous input value |
currentValue |
New input value |
firstChange |
Whether this is the first assignment |
isFirstChange() |
Method that checks the first assignment |
ngOnChanges() runs:
-
When Angular initially assigns the input.
-
Whenever Angular detects that its bound value has changed.
For the initial component creation, ngOnChanges() runs before ngOnInit().
Using an input setter
An input can also be implemented using a setter.
export class UserCard {

  private normalizedName = '';

  @Input()
  set userName(value: string) {
    this.normalizedName = value.trim().toUpperCase();
  }

  get userName(): string {
    return this.normalizedName;
  }
}
Parent:
<app-user-card
  [userName]="'Syed Mohamed'">
</app-user-card>
Result:
SYED MOHAMEDHowever:
-
Keep input setters simple.
-
Do not perform expensive API calls or complex DOM work in a setter.
-
Prefer an input transform when the requirement is only value conversion.
-
Angular may call the setter multiple times. (Angular)
How change detection affects @Input()
Consider:
<app-product-card
  [product]="selectedProduct">
</app-product-card>
When Angular runs change detection:
-
Angular evaluates
selectedProductin the parent. -
It passes the current value to the child's
productinput. -
The child template renders the received product.
-
When the parent value changes, Angular updates the child.
-
If appropriate, the child’s
ngOnChanges()is called.
Object reference consideration
This creates a new object reference:
this.selectedProduct = {
  ...this.selectedProduct,
  price: 3000
};
This only mutates the existing object:
this.selectedProduct.price = 3000;Creating a new object is usually safer, especially when using OnPush change detection, because Angular can clearly detect that the input reference changed.
Can the child modify an input?
Technically, this is possible:
this.product.name = 'Changed';But it is generally poor design because the parent owns the data.
A better communication pattern is:
Parent → Child: @Input()
Child → Parent: @Output()
Use @Input() to receive data. Use an output event to ask the parent to update it.
Do not treat @Input() as two-way binding automatically.
Classic @Input() versus modern signal input
Modern Angular supports two approaches.
Decorator-based input
@Input()
title = '';
Template:
<h2>{{ title }}</h2>Signal-based input
import { Component, input } from '@angular/core';

export class ProductCard {
  title = input('');
}
Template:
<h2>{{ title() }}</h2>Required signal input:
title = input.required<string>();Parent usage is the same:
<app-product-card
  [title]="pageTitle">
</app-product-card>
The Angular team currently recommends signal-based input() for new projects, but the traditional @Input() decorator remains fully supported. Signal inputs are read-only signals and are accessed by calling them as functions. (Angular)
| Feature | @Input() |
input() |
|---|---|---|
| Type | Decorated class property | Read-only input signal |
| Read value | this.title |
this.title() |
| Template | {{ title }} |
{{ title() }} |
| Required | @Input({required: true}) |
input.required<T>() |
| Existing projects | Very common | Increasingly common |
| New Angular projects | Supported | Recommended |
Important points
-
@Input()is a property decorator. -
Import it from
@angular/core. -
It passes data from a parent to a child.
-
The child must declare the receiving property with
@Input(). -
The parent normally passes dynamic data using property binding:
[inputName]="value". -
Without square brackets, the value is generally treated as a literal string.
-
Inputs can receive strings, numbers, booleans, objects and arrays.
-
Input names are case-sensitive.
-
Use
{ required: true }for mandatory data. -
Use
aliasto expose a different template binding name. -
Use
transformto normalize incoming values. -
Use
ngOnChanges()when the child must react to changes. -
Avoid directly modifying parent-owned objects inside the child.
-
@Input()provides one-way parent-to-child communication. -
The signal-based
input()API is recommended for new Angular development, while@Input()remains supported.